Monday, December 12, 2011

Christmas tree and DIY ladder

So this year our tree is white and silver and I also added a few wooden ornaments. I decided to put up twinkle lights and also add real candles, I am not planning on lighting them but I think they add a nice touch.

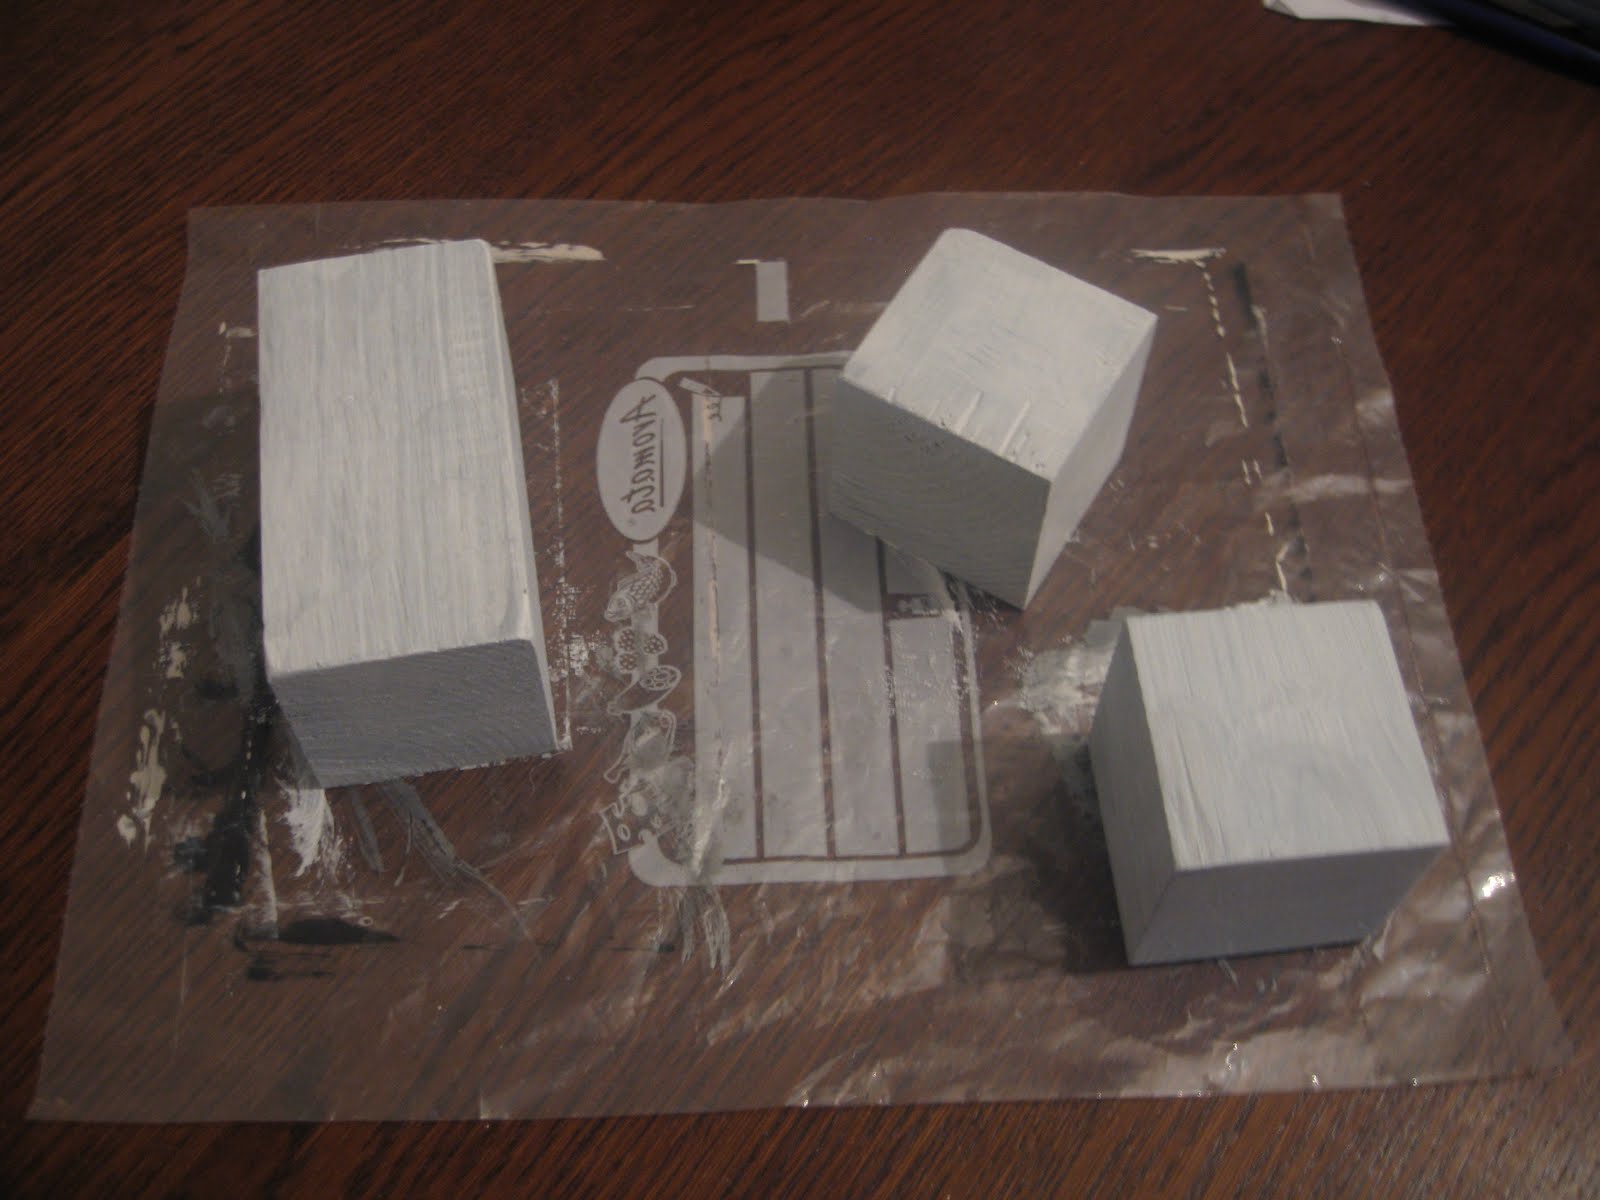
Here's the ladder that I made, I wouldn't recommend trying to climb on it though since I just glued the dowels to the sides of the ladder. It was an easy project but took up quite a bit of space, plus I had to paint it white at the end (just one coat though because I didn't want it to look perfect) so I had to do it while my son was napping.
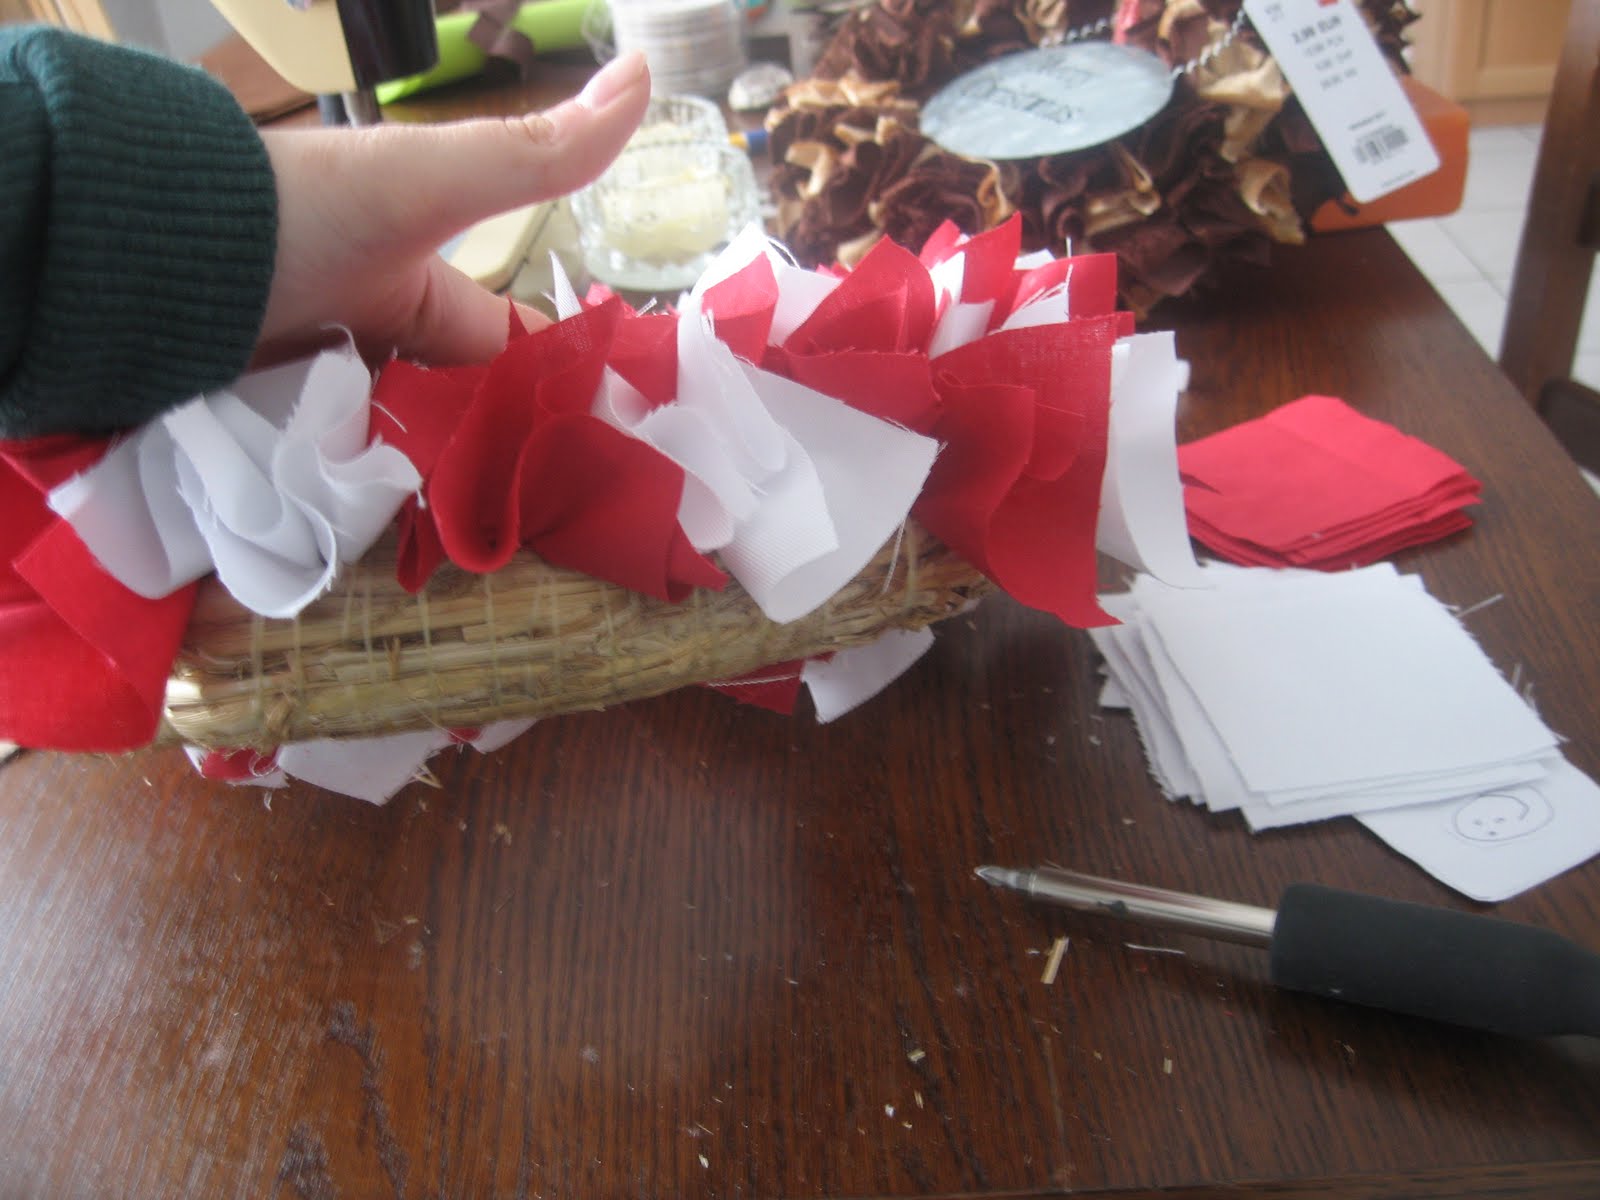
I had some leftover green branches from my wreath that I used to decorate the side of the ladder as well as some of those plastic clear round ornaments that you can fill. I didn't make the felt advent calendar....I know, that's awful! :) The ladder is perfect for showing off the calendar though. I'm excited to see how I'm going to use this ladder to decorate our home after the holidays;)
Here's a shot of the tree all lit up!
Oh, I actually took out my sewing machine and made a tree skirt! I had a little help from a friend to cut out the big circle, thanks Noomi! I love how it turned out, to make it look fuller I actually put that fake rock imitation paper that we usually used around the bottom of the tree and then put the skirt on top of that.

Christmas decorations and Nativity

We finally splurged and got a nice nativity this year! We decided to go with the willow tree nativity set, I really like the colors and I love that Mary is holding baby Jesus in her arms. Next year we'll probably buy the wise men set to complete the nativity.


Here's a display I have in my dinning room. Still need to find a nicer piece of furniture to replace the old Billy shelf there...

I'm in love with my new countdown blocks and I love the colors I chose for this year, red and white, well my Christmas tree has silver too, I'll be posting a picture of that soon!
I love these decorative glasses that I found, perfect for little candles.

Fresh pine wreath

I couldn't resist making a fresh pine wreath this year! I didn't want to put it on my front door and I'm really glad I didn't because it's just perfect on my fake 'old' window. This way I get to see it all the time...not just when I'm walking in and out of the house:)


I love the contrast of that dark wood furniture with the cream and the dark green.

Friday, December 2, 2011

Christmas front door wreath

once again we are in an apartment for Christmas so the christmas wreath has to stay in doors which means I'd rather not have a wreath with real pine tree branches on it. So I made a fabric wreath this year.

First I cut LOTS of squares out of red and white fabric I had lying around. And then I glued them all around the wreath always alternating white and red.
I used a screw driver and covered the tip by putting the middle of a fabric square over it. Then I used my glue gun and added a big dot of glue on the tip, then I pocked the screw driver through my straw wreath.

I love it, it looks like a big peppermint!!

Thursday, November 10, 2011

Christmas countdown blocks

last year I made countdown blocks using scrapbook paper and I love how it turned out (sorry about the lighting):

But this year my color scheme is different from last year so I decided to make new blocks. here's the finished product:
First I cut my blocks with my saw and my miter box.
Then I painted the blocks silver using craft paint.
Once the first coat was dry I painted the blocks white.
Once the second coat was dry I sanded the blocks down a bit so the silver with show through.
I cut out stencils with my silhouette SD. On one block you'll need numbers 0-5 and on the other you'll need 012678. Number 6 can be turned around and used as a nine as well. I painted the numbers red.
And I also added a little stencil on each corner which I filled in with a silver permanent marker.

For the bottom block I didn't add any embellishments and I tied a ribbon around the whole set. Oh, and the font I used for the numbers is called St. Nicholas, it's a free font and I love using it at Christmas time:) Enjoy!

Tuesday, November 8, 2011

gift plaque

A month ago I had to go to a meeting at my daughter's school but my husband was out of town...so I was in desperate need of a free babysitter. Luckily A sweet lady from our ward was happy to help me out and I wanted to give her a little something to say thank you so I made her a plaque:

This project was very fast, choosing the fonts and the image took the longest but I did that the night before while the kids were sleeping. The rest took about 30 minutes of my time here and there because you do one step and then have to wait for paint or glue to dry so you can still play with your kids and not feel like you are neglecting them :)

I had the supplies on hand, I used a piece of molding that I cut with my miter box to fit the inside of my 8X8 piece of wood.

I then used wood glue to glue the molding and let that dry about 20 minutes.

Because I'm not an expert at sawing and my miter box isn't in great condition anymore I used wood paste to fill in the gaps in the corners and let that dry a bit.

Then I painted the whole plaque with blue craft paint. I like craft paint for small projects like this because it dries fast:)

I used my silhouette to cut out what I wanted to put on the plaque and took out the insides of the letter so I could use it as a stencil.

filled in the letters with white craft paint and pulled off the stencil.

And there you go!

Posted by Picasa

Sunday, October 16, 2011

Hydrangea heart wreath

Once a month there is a flea market just outside out apartment building, there are always 2 or three stands that sell shabby chic stuff. One lady also sells these handmade hydrangea wreaths. I bought one for 5 euros and chose the heart shaped wreath. The flowers were still fresh when I bought the wreath as you can see in the picture below. The lady said to just lay it flat for a few days until it dried.

So these next pictures were taken about 4 days after I bought the wreath, it was dry so I decided it was time to use it properly.
The colors are still the same as when they were fresh! I love this wreath!

Enjoy!

Posted by Picasa

sitting corner

one of our favorite spots in our new apartment is this guest bed covered in pillows right by the window. The kids love to stand on the bed and look out the window and my husband and I like to sit and read or take naps there.


I still need to put something on the wall and find a cuter side table to replace this Ikea table.
I picked up this lamp at the thrift store in France, I painted it off white and distressed it. The pillow cases with the roses were a wedding gift from one of my best friends from Finland, I love the pattern.


A couple more views from the balcony in the living room, I love sunny days with a blue clear sky!


Posted by Picasa