My youngest brother is coming home from a 2 year Chinese speaking mission for the Church of Jesus Christ of Latter Day Saints in just a couple of weeks. The day he returns happens to be Chinese new years so I thought I'd prepare a small surprise party. I thought I'd make a block with a Chinese character to put next to each plate. Here's how to make the blocks.
You'll need:
Square wooden blocks (I needed 7)
sand paper
acrylic paint
colored contact paper
(electronic cutting machine)
clear contact paper
Start by sanding the edges of your blocks to make sure they are smooth.
Square wooden blocks (I needed 7)
sand paper
acrylic paint
colored contact paper
(electronic cutting machine)
clear contact paper
Start by sanding the edges of your blocks to make sure they are smooth.
 Paint them whatever color you want (I used bright yellow for my Chinese theme), I like to work with acrylic paint because it is so easy to mix colors to get the exact color you want...with a little bit of practice:)
 Once your coat of paint is dry, you can leave your blocks as they are but I like to sand the edges again to give them that aged look.
 Then I downloaded the images I wanted from the silhouette online store and adjusted the images to fit my blocks. I stuck the contact paper (with the backing) on the carrier sheet I made and put it through the silhouette: I use the yellow cap and tell the program that I am using silhouette vinyl.
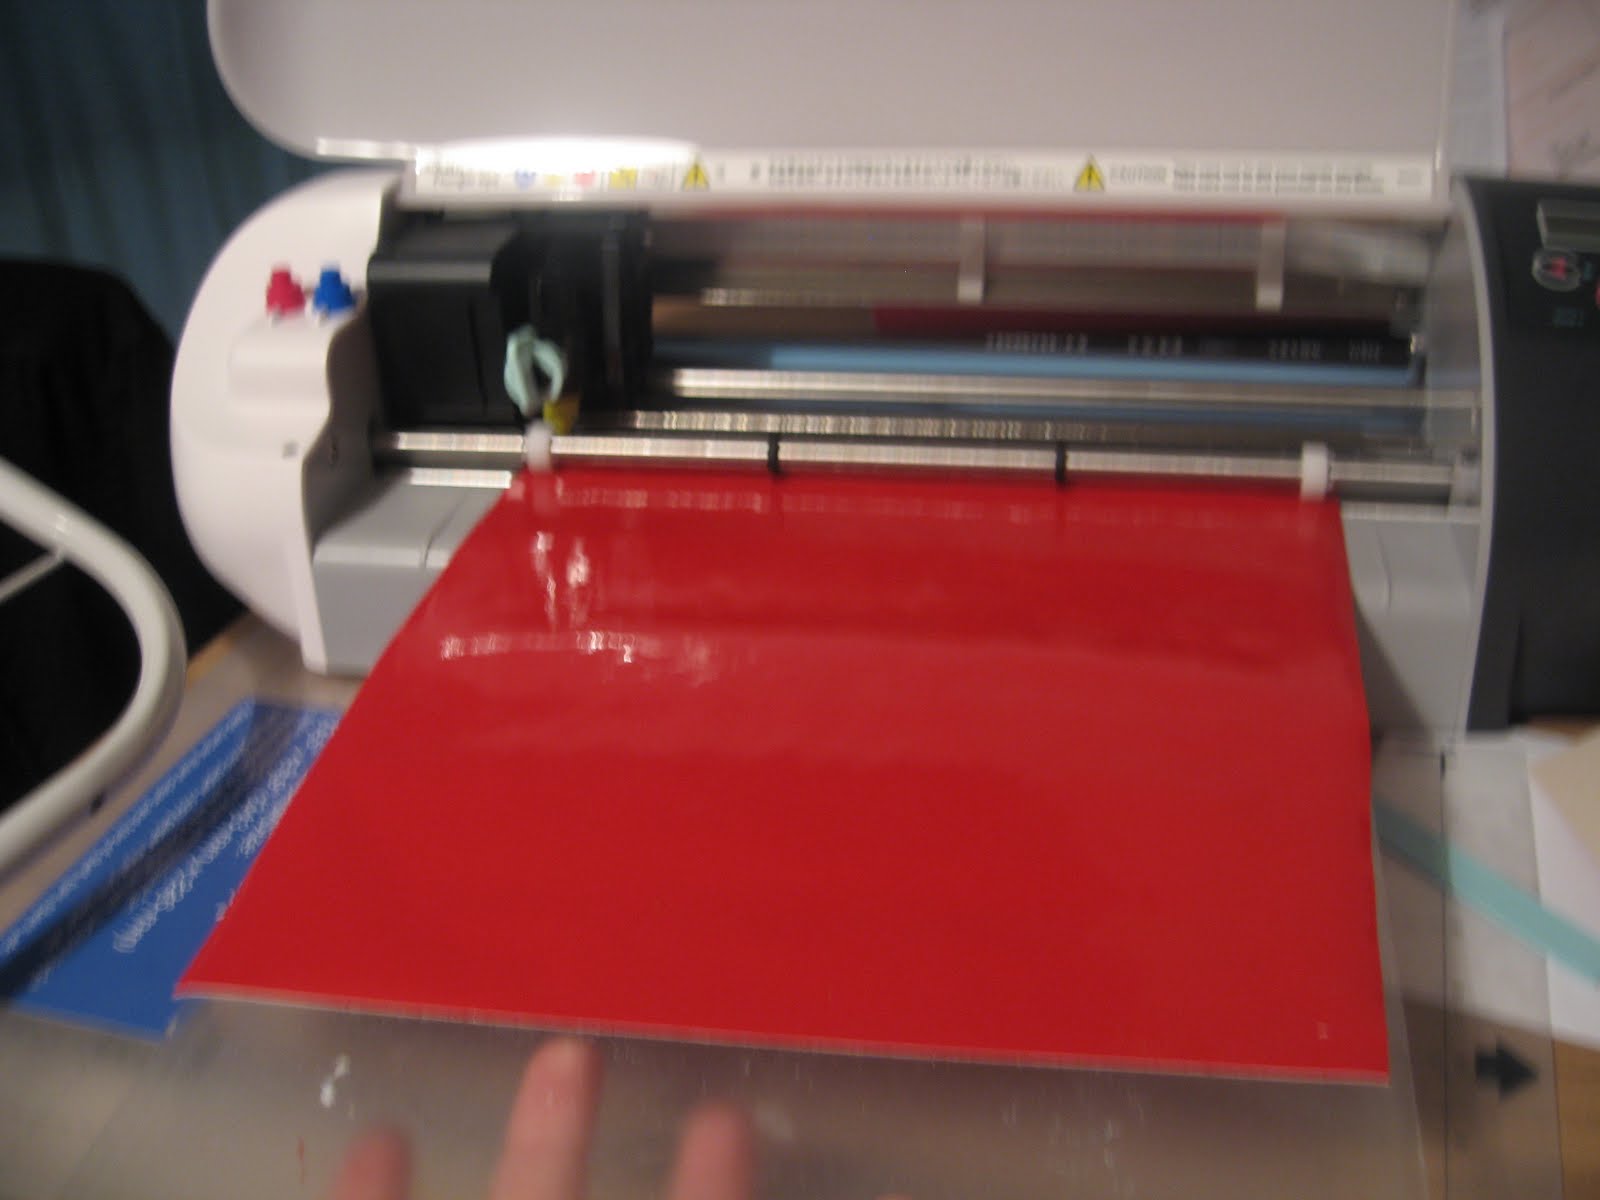 You can see exactly the cut out shape, so what you do now is remove the excess adhesive so there is only your shape left on the backing paper.
 This is where the clear contact paper is needed, I cut a strip a bit bigger than the shape I'm cutting and remove the backing paper. I then try to take out as much stickiness as I can by rubbing it on a cotton shirt. Then I lay it onto my image and rub across it with my finger.
 I then lift the clear contact paper, the image should be stuck to it and come off from the backing paper it was on. This will ensure that your image (especially those with lots of parts on them) stay straight when you transfer it to you block.
 Lay the image sticky side down on your block and rub the image with a credit card or bone folder.
 Then CAREFULLY remove the clear contact paper, you might have to hold down pieces of your image onto the block so it doesn't stick to the clear contact paper instead of your block. There you go! One block done, six more to go:)
No comments:
Post a Comment